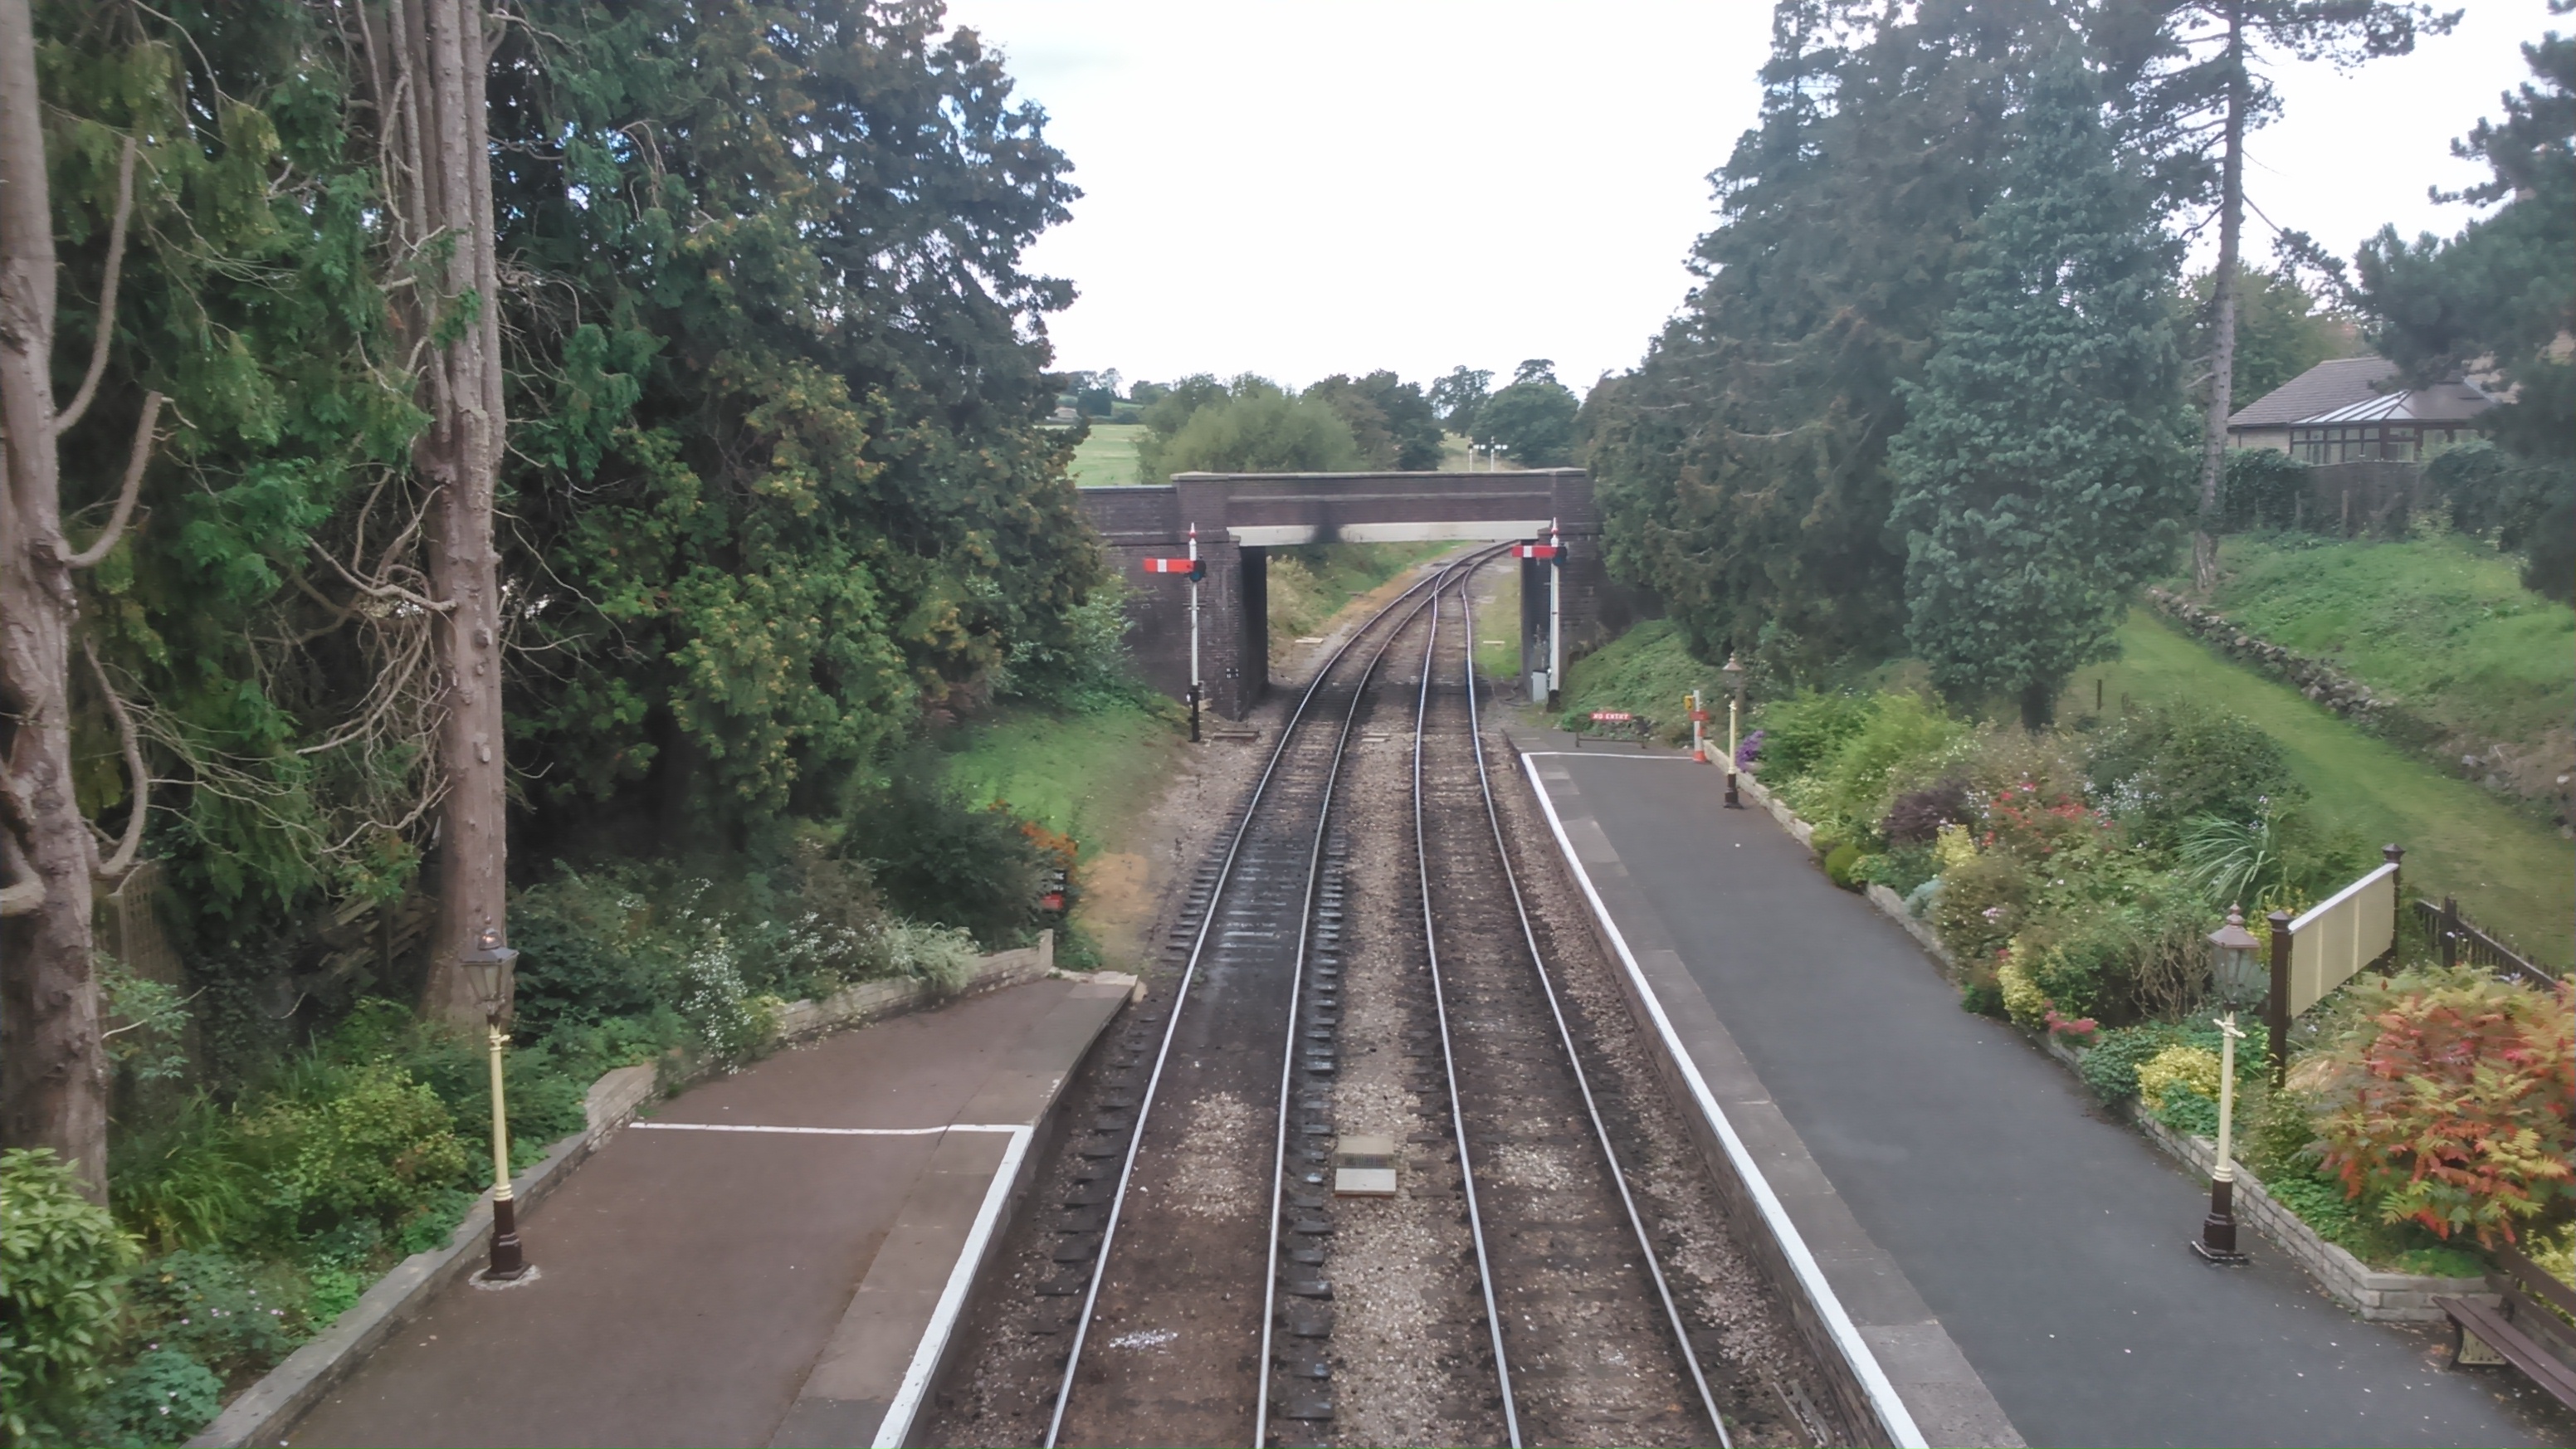
Locoyard seems to be suffering a bit of a railway modelling drought at the moment, apart from Simon’s excellent exhibition articles, with lots of posts on the big railways. Mr Locoyard himself is still dithering about what to do ;-), so I thought I’d post a bit about a diorama I made to keep me busy and to try out a few things, such as static grass. First off, choose a subject. I’m rubbish at imagining places, so it had to be somewhere real. I chose the approach to Winchcombe station (shown above) with the road over rail bridge as a main feature as I could visit regularly to get photographs to model from. There would also be a small amount of platform to model, some signals and embankment, so lots of interesting stuff in a small space.

So a start was made, first by hunting for the largest piece of wood in the garage that would fit on my shelf without too much trouble. Once that was done a few rough measurements were taken from Google maps and drawn onto the board (basically, the bridge and the track) Some bog standard hornby track was pinned down, taken from my “scenery” box of track (old steel track that is in poor condition!), an appropriate modified Hall class loco plonked on top and I was away!

Next up was to plan the bridge structure. As I’m a “yoof” I did it on the computer on Google sketchup, a free 3D CAD package that’s reasonably straightforward to use. You can translate sketchup drawings into 3D printer drawings, but I only did this as a plan. Measurements were estimated from pictures (big mistake – see later on!)

Construction of the bridge walls began soon after, taking measurements from the sketchup drawing and drawing them straight onto plastikard. First it was made in plain plastikard of varying thicknesses then laminated with embossed brick and given a base coat of a browny colour. After a quick mock up on the board, I realised I’d forgotten the one critical measurement of a bridge – it’s height! Obviously, mine was a few mm to short, DOH!
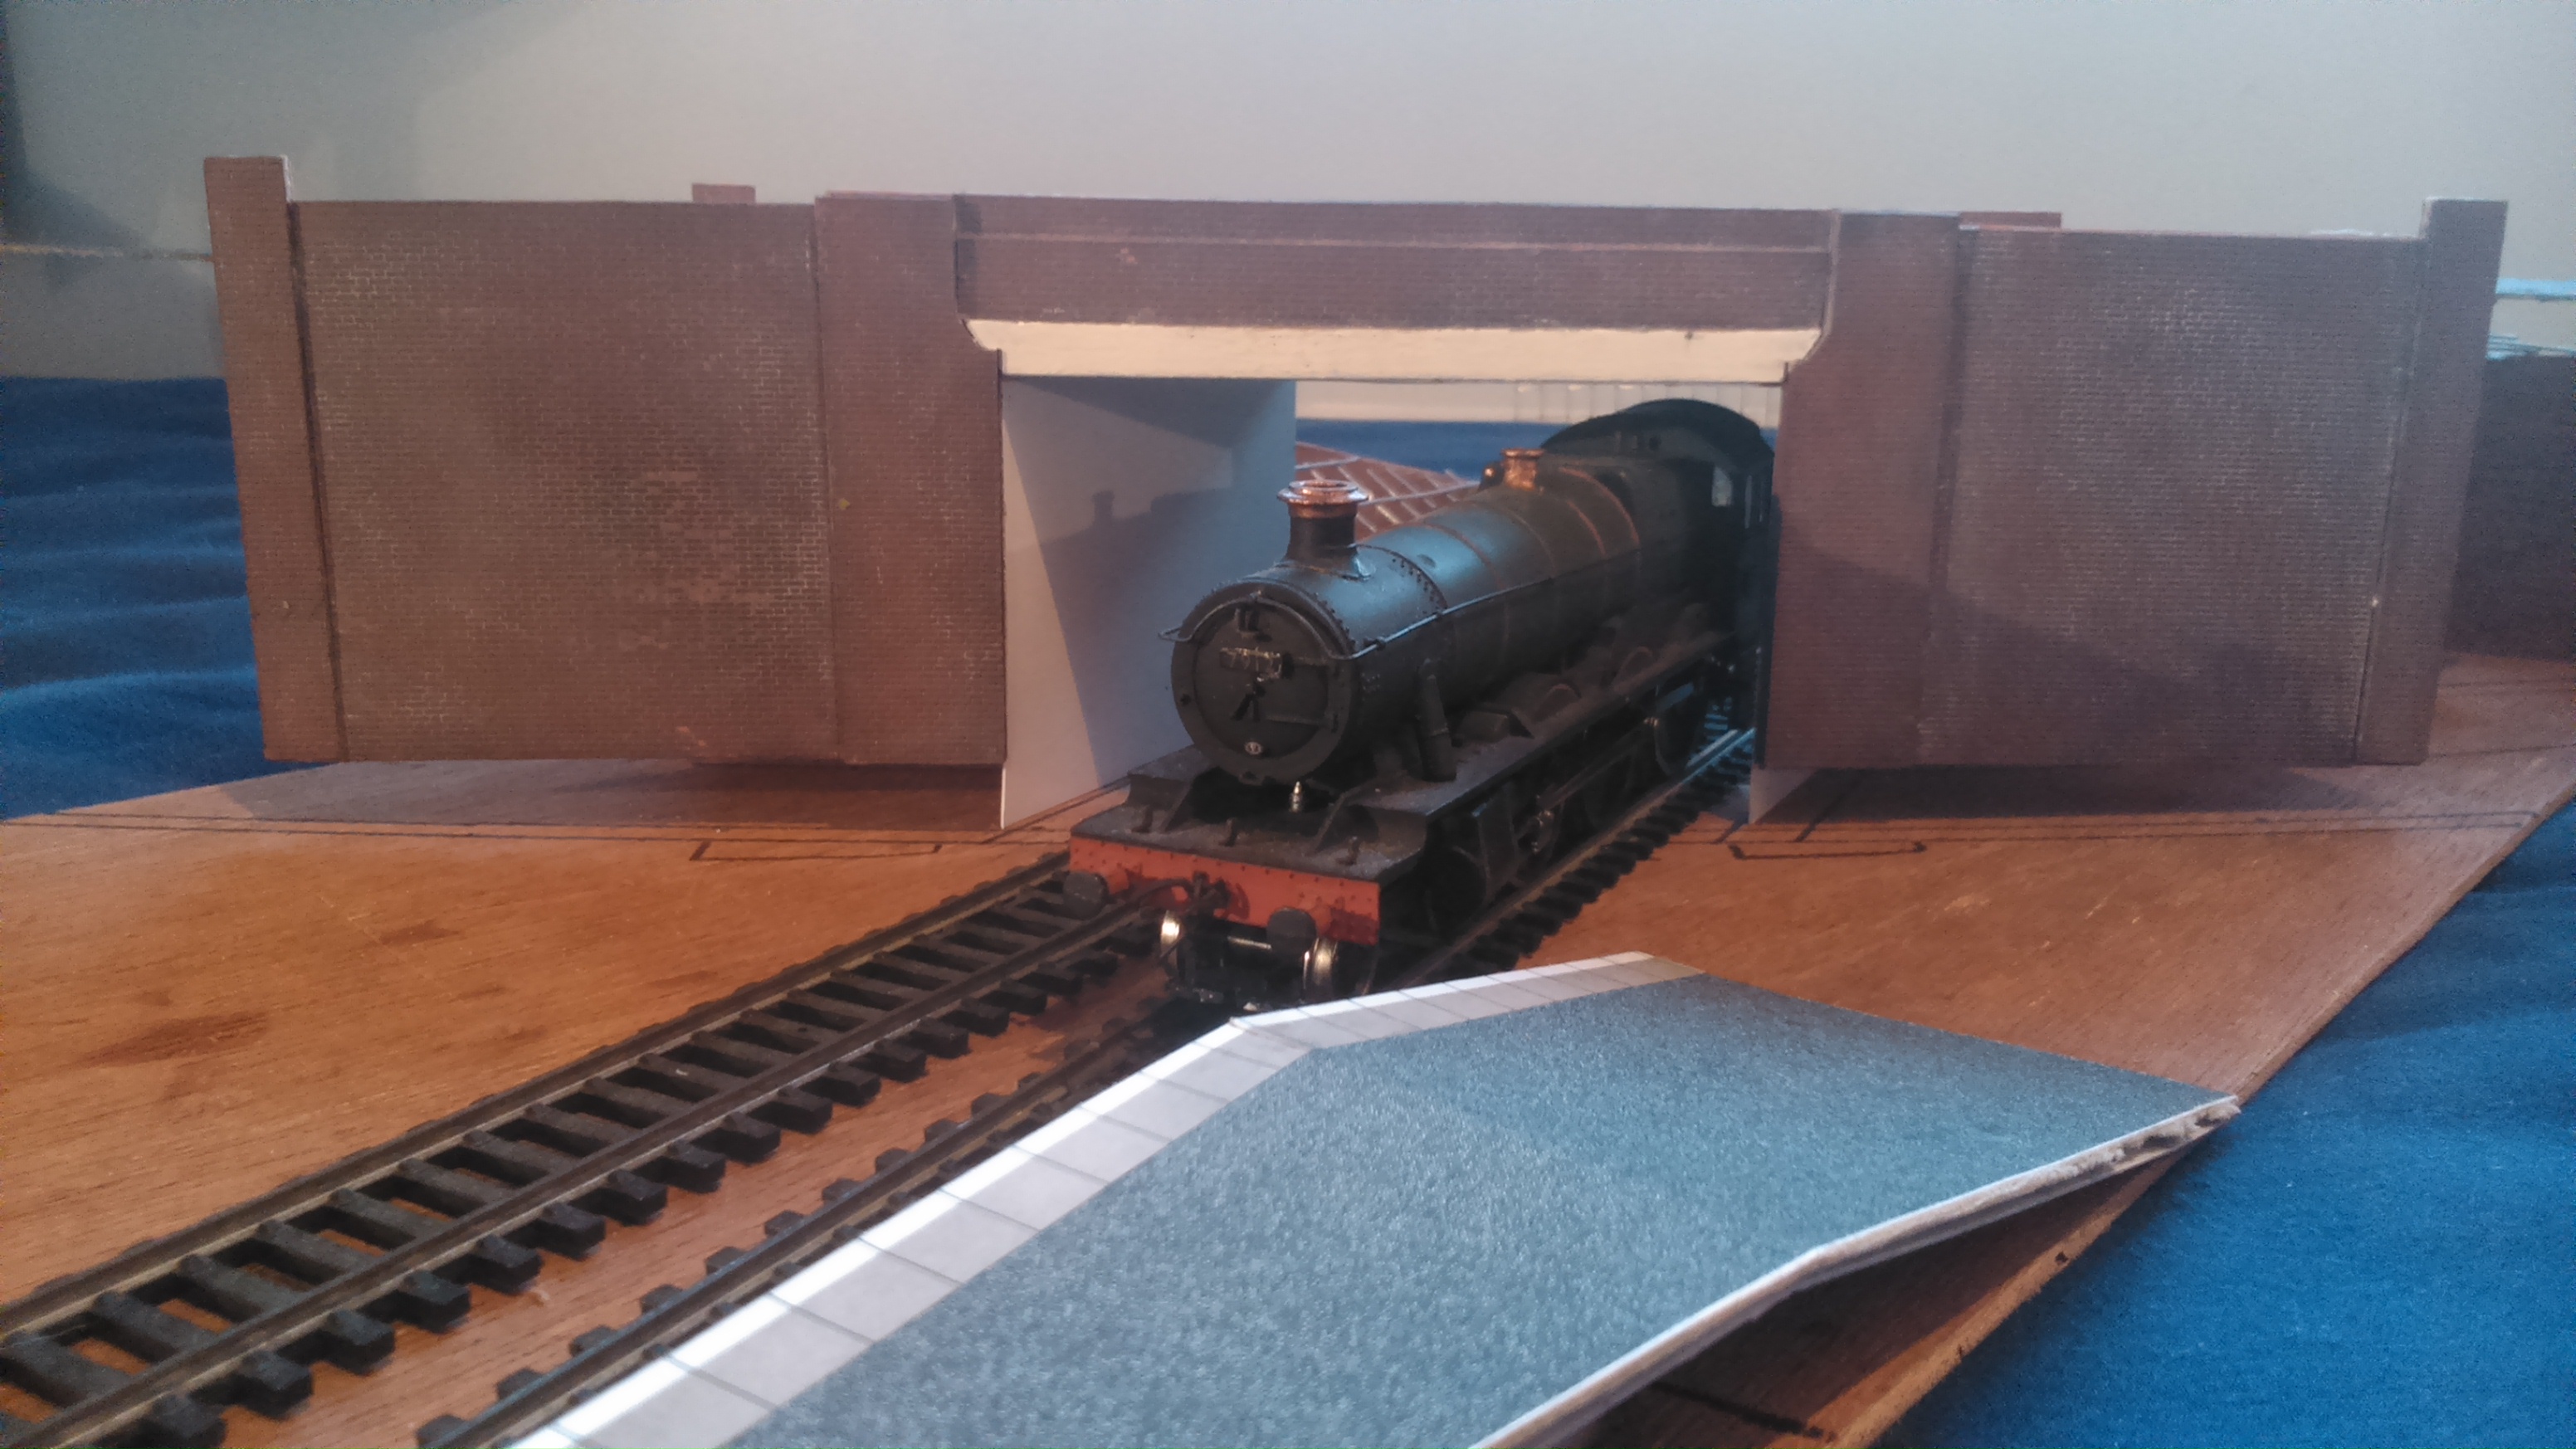
When I assembled the two bridge walls, I made the inner walls slightly taller to raise the bridge up enough. my Hall class now fitted through! At this stage I also made up the small bit of platform that would feature, from bits of a metcalfe platform kit I had left over and plastikard for the platform wall. By now the bridge walls have been weathered using a mixture of white, black and grey pastel powder scraped off a pastel with a knife rubbed in to tone the paint down and make it less uniform.
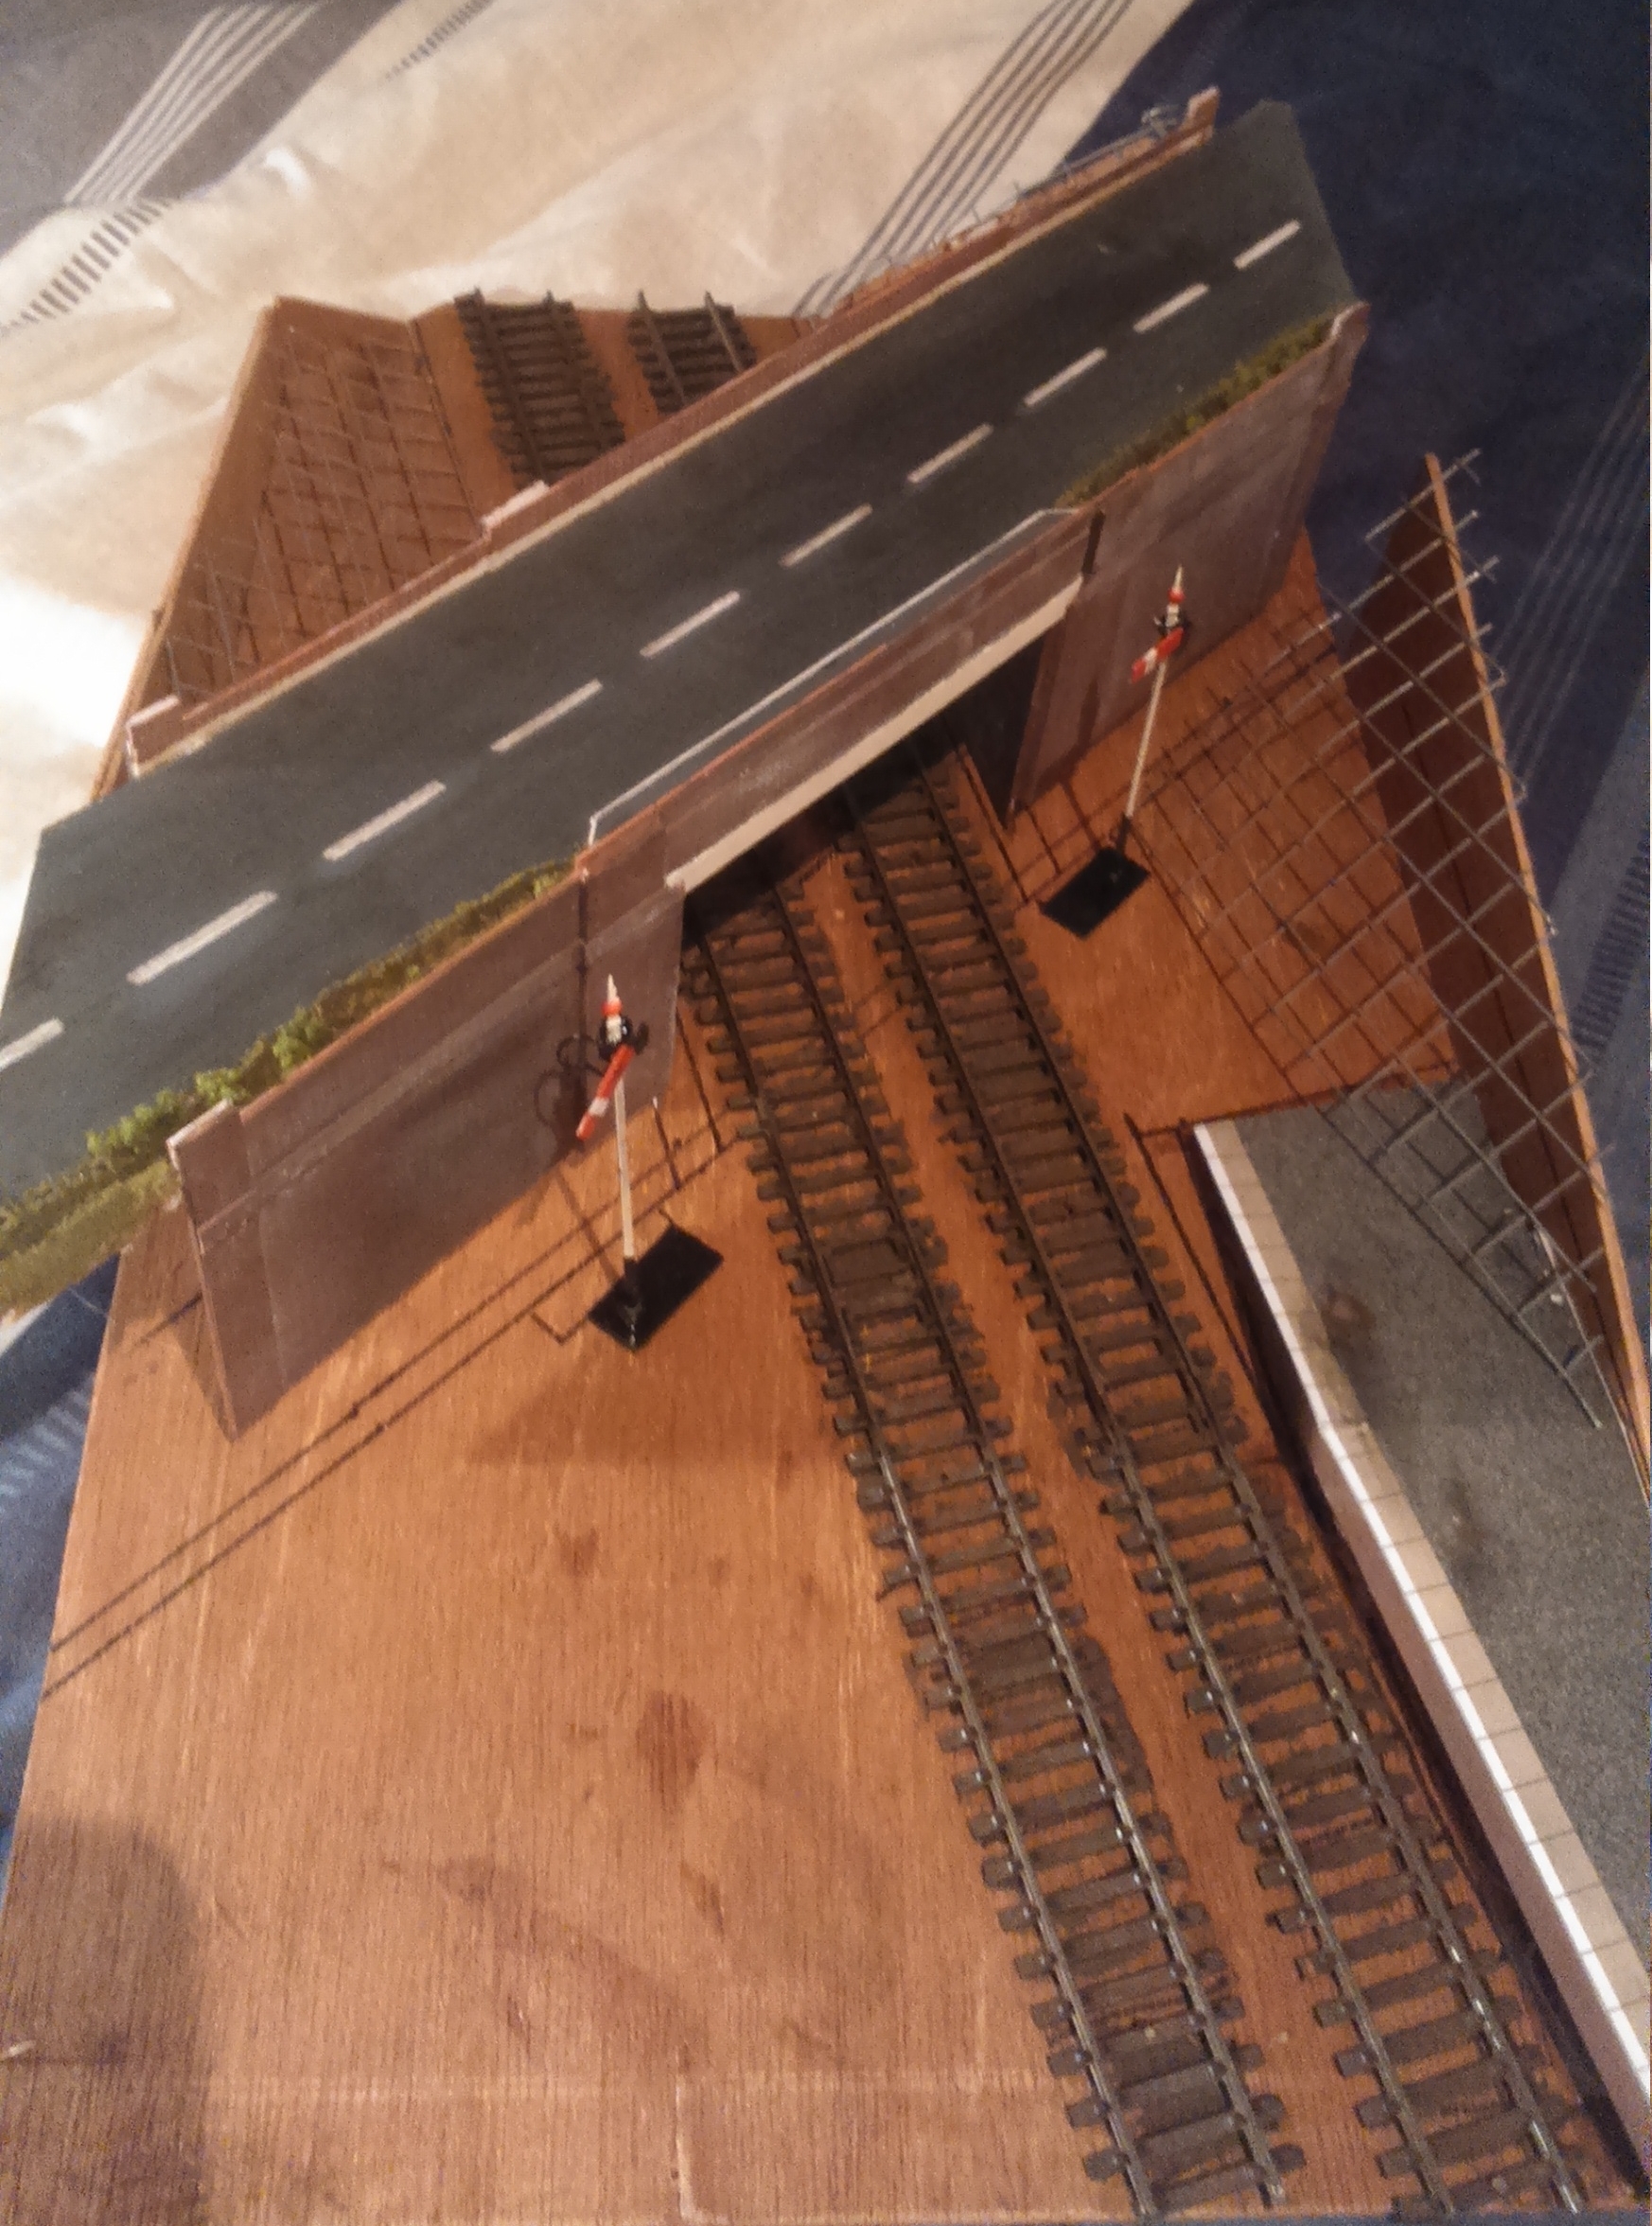
Once that was done I began shaping some of the embankments with wire mesh. At this point the only thing I had to buy for this little project, the GWR signals, turned up, so I assembled and painted them and positioned them on. The first bit of greenery was added along the path on top of the bridge as well. I also splashed some paint on the track in the form of railmatch sleeper grime.


Then in quick succession first plaster bandage/ModRoc was applied to the wire mesh, then painted in a dark brown using poster paints, given an undercoat of burnt grass scatter and the track ballasted.

Meanwhile on the other side more ballasting was done, a platform lamp aquired and painted, and a start on the platform embankment was made, this one using real fine soil as I didn’t want this to be completely grass covered. the rock border was made from crushed sandstone.

The first tree, made from copper wire, milliput and mid green foliage made an appearance, as well as the last of the base coat of grass, and some more shrubbery grew too.

This shows my first attempt at static grass, no expensive applicators for me, sprinkling it on between thumb and forefinger was the order of the day, and quite pleased I was with the result too. This little project took me almost 2 months to complete although I fitted it in around a fair amount of coursework, a holiday and keeping up work on the full size version, so I could probably have completed it in a month if I put my mind to it. Total cost was about £4.00 for the signals, the rest of the materials I already had in stock, plastikard, track, ballast, grass etc. So finally a few “finished” shots, with a few finishing touches like the cars and people on the bridge, weathering the ballast, and, although you can barely see it, some signal cabling as well!


Very impressive!
LikeLike
Reblogged this on sed30's Blog and commented:
Simples
LikeLike
Great diorama!!
LikeLike
It’s good to see we’re not all dithering! 😉 Great little diorama Alex, great stuff!
LikeLike
Thanks everyone, it seems to have been my “last Hurrah” for modelling for the next couple of months, what with exams coming up 😦
LikeLike
Reblogged this on Calling All Stations and commented:
A fantastic little diorama from GWSRAlex on LocoYard. Very simple yet with so much to look at, this project proves modelling doesn’t have to take up acres of space.
LikeLike