Tonight we have the fourth blog post brought to you by Edward Farms. Edward has a fantastic website that I urge all Locoyard Followers to check out ! If you missed it previously, you can catch up with the other blog posts in the series by clicking here I will now leave you in Edward’s very capable hands, with the second excellent blog post on the art of weathering…
Weathering Blog 4 – Updates and How to 1 – Locomotive
Hello and welcome to part 4 of the weathering blog series, it’s been a long time coming I am finally back behind the airbrush. First let me fill you in on some updates from my perspective, I recently (March) attended the excellent Missenden Abbey Weekend where I spent some time in the classroom with the weathering god Tim Shackleton picking up some useful pointers and experience, if you want to try one of these courses check out their website .
 During my time there I got to try out a much better compressor – the Iwata Smart Jet Pro. This is so much better than my previous compressor, it has a built in reservoir to keep the air pressure constant at the PSI you set – as opposed to my old which didn’t even have a pressure gauge!
 It also features this nifty little airbrush holder which is very useful for mixing paint inside the airbrush cup, previously I had to tip the old mix into a jar and mix it then pore it back in so it’s a time (as paint) saver. True it will set you back somewhere in the region of £250-300 but it is worth it in the long run.
 The hose sucks all the fumes out so no complaints from anyone else about the smell. All you need to do is buy a simple table lamp to illuminate the work area and its perfect for indoor spraying.
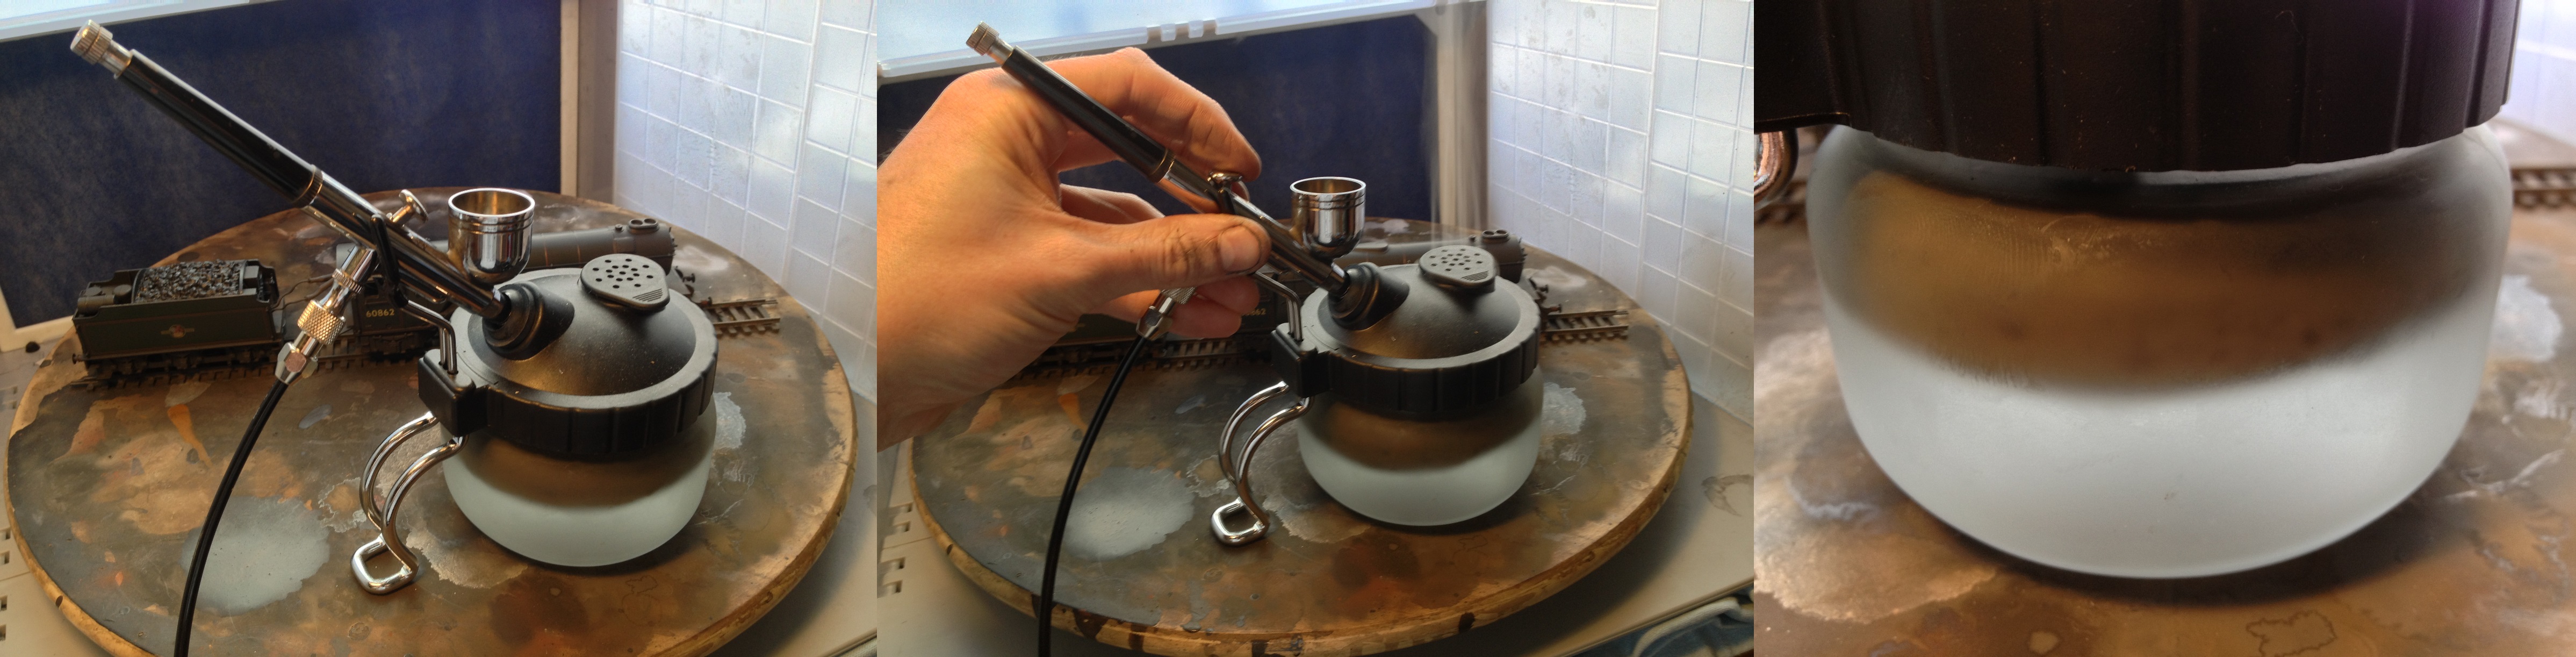 I also bought an airbrush cleaning station, definitely not a cheap weekend with all these things. This device is so simple, you just fill it with water and insert the airbrush into the hole in the top and spray your cleaner through. The water helps reduce the thinners down so you can simply pour it down the sink. So now we have looked at my purchases lets turn to another newish toy, A Bachmann V2.
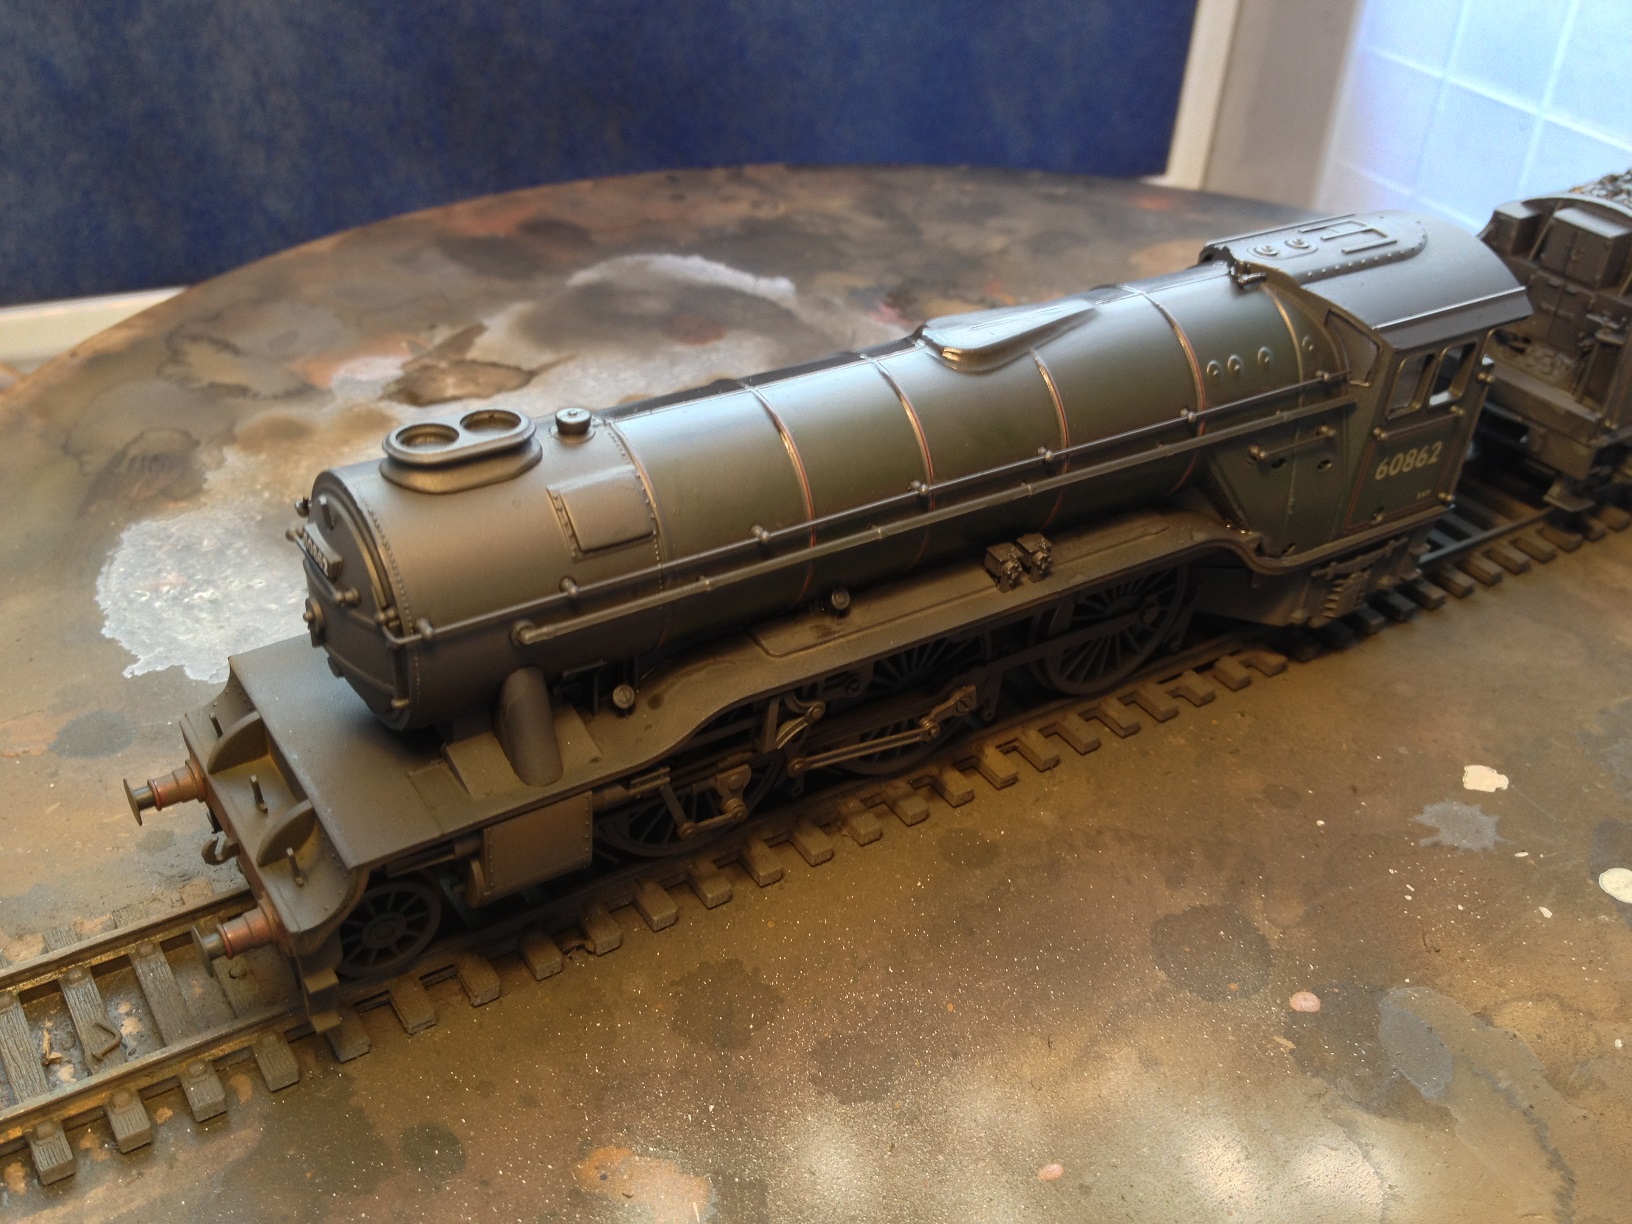
 This model depicts one of Kings Cross “Super V2’s 60862 as she was in the 1960’s, double chimney and lined green wit the later crest, although quite old now it’s DCC upgrade made it suitable to finally allow Leeds Weeklyn Hill to welcome in these magnificent machines.
 The first thing I did was to sound fit the model for use on shed (all our locos have DCC Sound). There was no room for the chip and a speaker in the loco so I put a large bass reflex in the tender and ran the wires through the cab to the tender, after testing and final reassembly I weathered the once bright red wires to help them blend in better.
 The next stage was to waft a brownish mix of Humbrol 62 Matt Leather and 33 Matt Black around the frames of the loco, remember to get all around the axlexbox covers and any other detail.
 Also don’t forget to turn the wheels half a turn at this stage, otherwise you will end up with shiny black patches on the wheels and this doesn’t look right at all. It doesn’t hurt to change the paint mixture slightly and have another pass or 2 over the existing weathering, either more brown or more black or possibly even some Humbrol 27004 gunmetal for a different shade. Remember locos didn’t go from clean to filthy in seconds it took weeks and months for the dirt and grime to take effect so variation in shades is key.
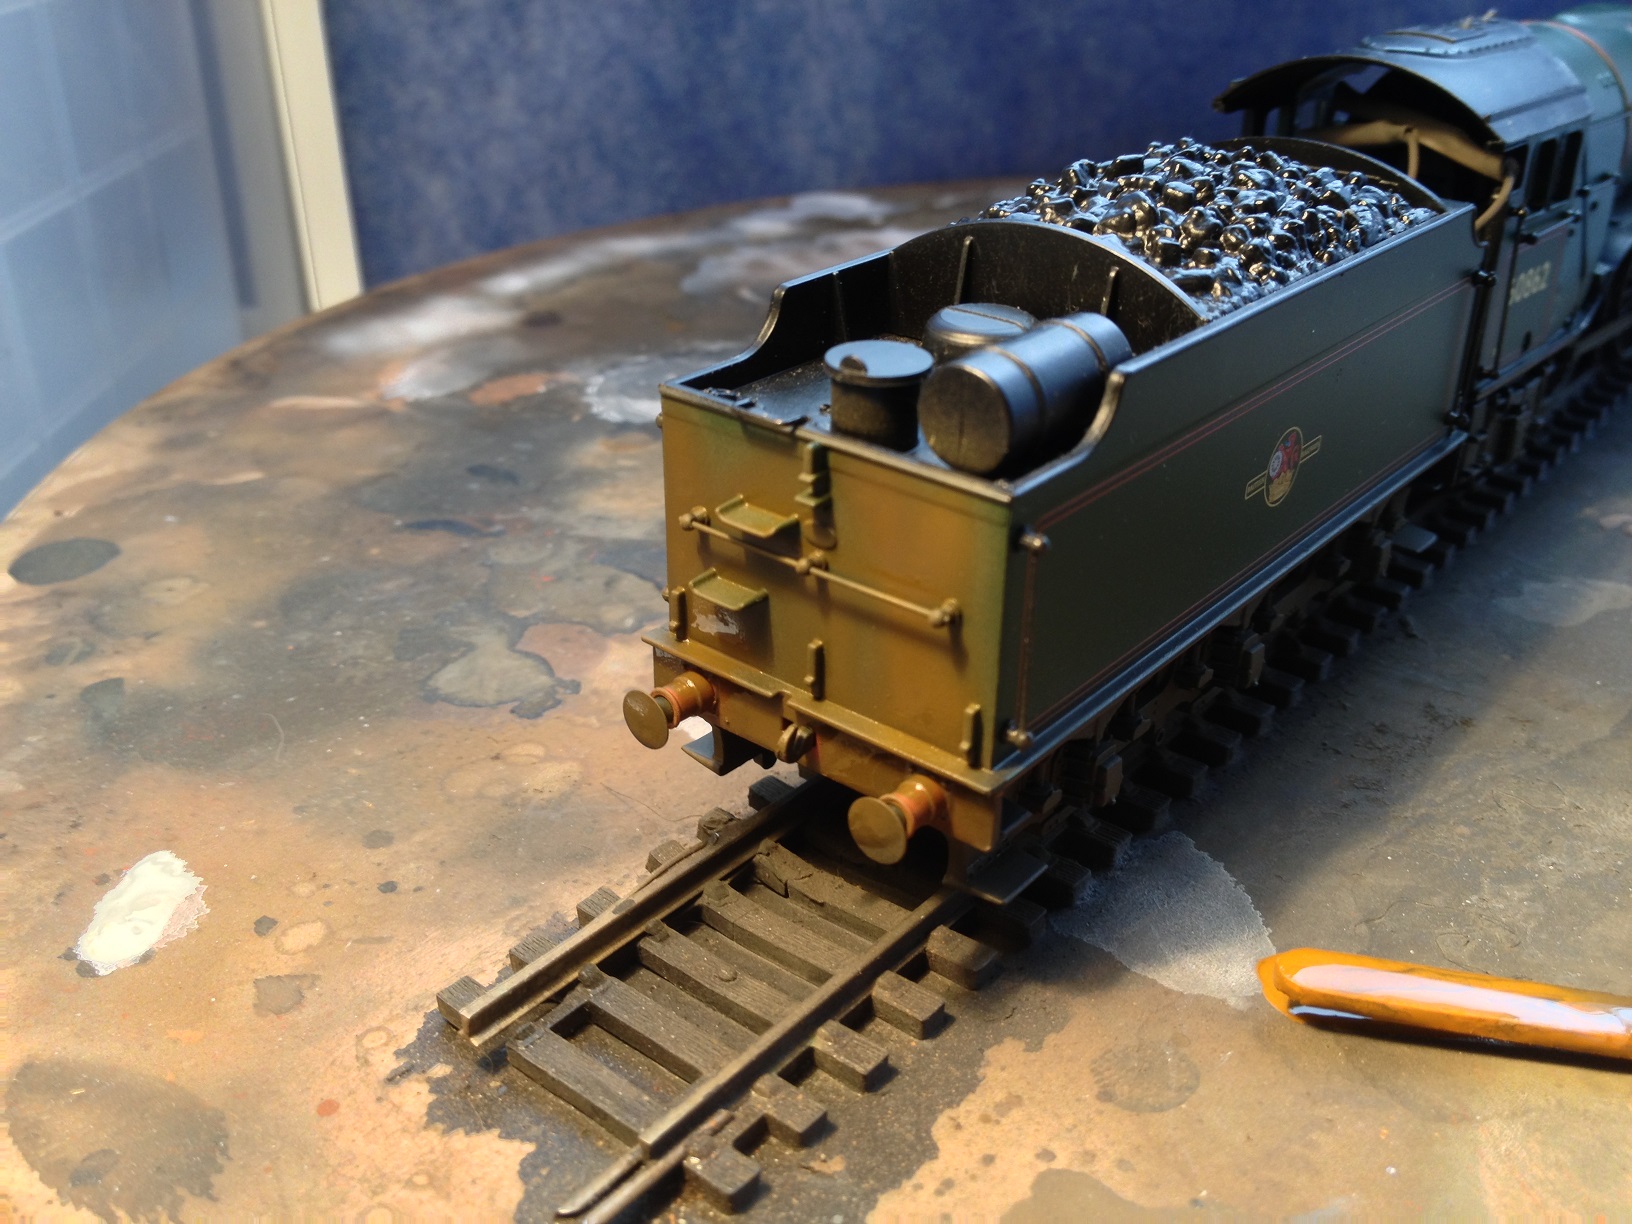 Don’t forget to go higher up on the tender back, this area would rarely have been cleaned so this would dirty.
 Also the bufferbeam, this is one area they would probably clean to aid track workers visibility of the loco so once you have sprayed your mixture on just dip your paint brush (smaller the better) in some thinners and gently wipe some paint off. They wouldn’t go overboard and get the whole thing clean, just enough to let people see the red, so leave some dirt in the nooks and crannies.
 The next area to tackle is the running plate, this would never be cleaned as a shiny clean surface would be a slippery surface and as such a danger to staff, here I am using a business card to mask the boiler. We don’t want total masking; just a hint of spray getting on into the corners will be fine.
 Next we want to make the paint mixture darker so add more black (Gunmetal will be really good here) to spray the boiler and top of the loco, this area would get more soot than road dirt so black is better, but we still want some brown.
 As before, weathering takes months in real life and between runs locos would be cleaned so once we get the paint on, we take it off again! Using a brush dipped in thinners we gently wipe away the still wet paint to reveal the original coat – this will leave some dirt in corners and other devices so its not a waste.
Simply repeat the above, spray paint on and wipe some off. As many times as you feel necessary to get the look you are after.
 Personally I decided to go down a different road after a while and coated the boiler, cab and tender sides in Johnson Klear floor Polish, great for replicating the look of the cleaners rag. There was still some dirt left under this grime but it adds to the effect.
 Although untypical of a V2 from Top Shed (the only picture I have seen of this locos is of it spotless on a freight train) I wanted a dirty engine so after giving it the cleaners rag effect I sprayed another coat or 2 (or 3) over the top of the loco to give it a well run look.
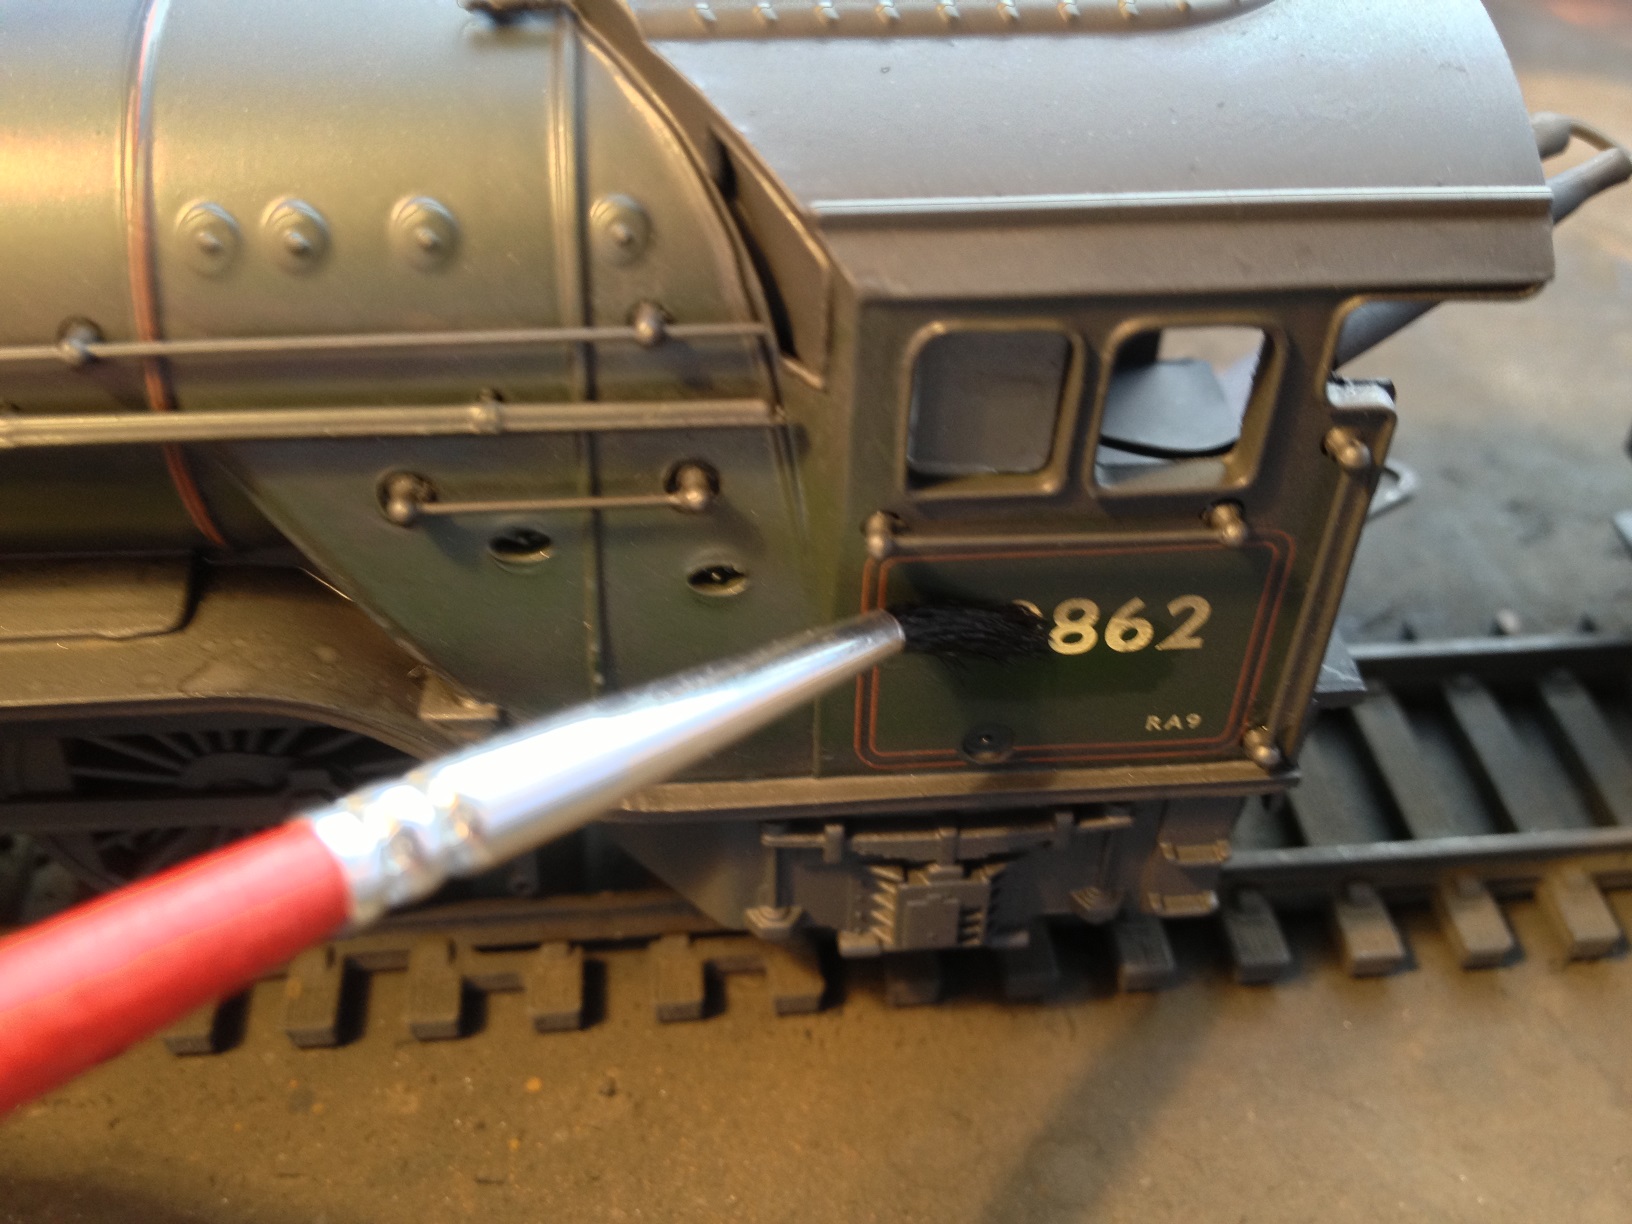 The final stage was to take my brush loaded with thinners again and clean the cabside numbers. A signalman would need to read the loco number for his log book so this is one part they would clean fairly regularly and all my weathered engines get the cabside numbers cleaned, although I do then put a thin mist of paint back over the top to suggest it has run since they cleaned them that morning.
 And there we have it, one run down V2 that has done a fair few miles since the top shed cleaners got hold of her. No doubt Mr Townend will set them on her when she arrives back at the Cross later.
Don’t forget to check out Edward’s fantastic website! I’m sure you’ll agree that this is a brilliant blog post entry. Many thanks to Edward for taking such time and effort to write this. If you wish to publish a blog post of your own, please contact locoyard here.


